



NDT Division
Services Provided:
Nondestructive
Inspection (NDI) is
the inspection of a structure or component in any manner that
will not impair its future usefulness. The purpose of the
inspection may be to detect flaws, measure
geometric
characteristics, determine material structure or composition, or
characterize physical,
electrical or thermal properties, without causing any change in the part. The NDI methods offered by A.L. Loran International LLC. are listed as followed: Visual Inspection, Magnetic Particle, Liquid Penetrant, Ultrasonic, Leak Test (Vaccum Box Inspection) NDI methods in the hands of a trained and experienced technician are capable of detecting flaws or defects with a high degree of accuracy and reliability. It is important that maintenance engineering personnel are fully knowledgeable of the capabilities of each method but it is equally important that they recognize the limitations of the methods. Limits for acceptance and rejection are thus as much a part of an inspection as the method itself.
Visual Inspection:
A
visual inspection or visual examination of objects, parts or
components is the oldest and most reliable non-destructive testing
method. Visual Inspection or Visual Testing (VT) requires
line-of-sight contact with the portion of the specimen to be
inspected, adequate illumination of the test specimen, a thorough
understanding of the nature and origin of discontinuities and
potential defects within the test object, and familiarity with the
specifications controlling the inspection process. Unless the
specimen cannot be examined visually, visual testing should be the
first part of any NDT examination. Visual testing presents several
real advantages: simplicity, rapidity, low cost, minimal training
and equipment requirements, and the ability to be performed while
the specimen is being used or processed. Often the inspection
locates areas where other NDT techniques need to be
applied, but visual inspection can also eliminate the
need for further testing and the associated
costs.
Magnetic Particle Inspection:
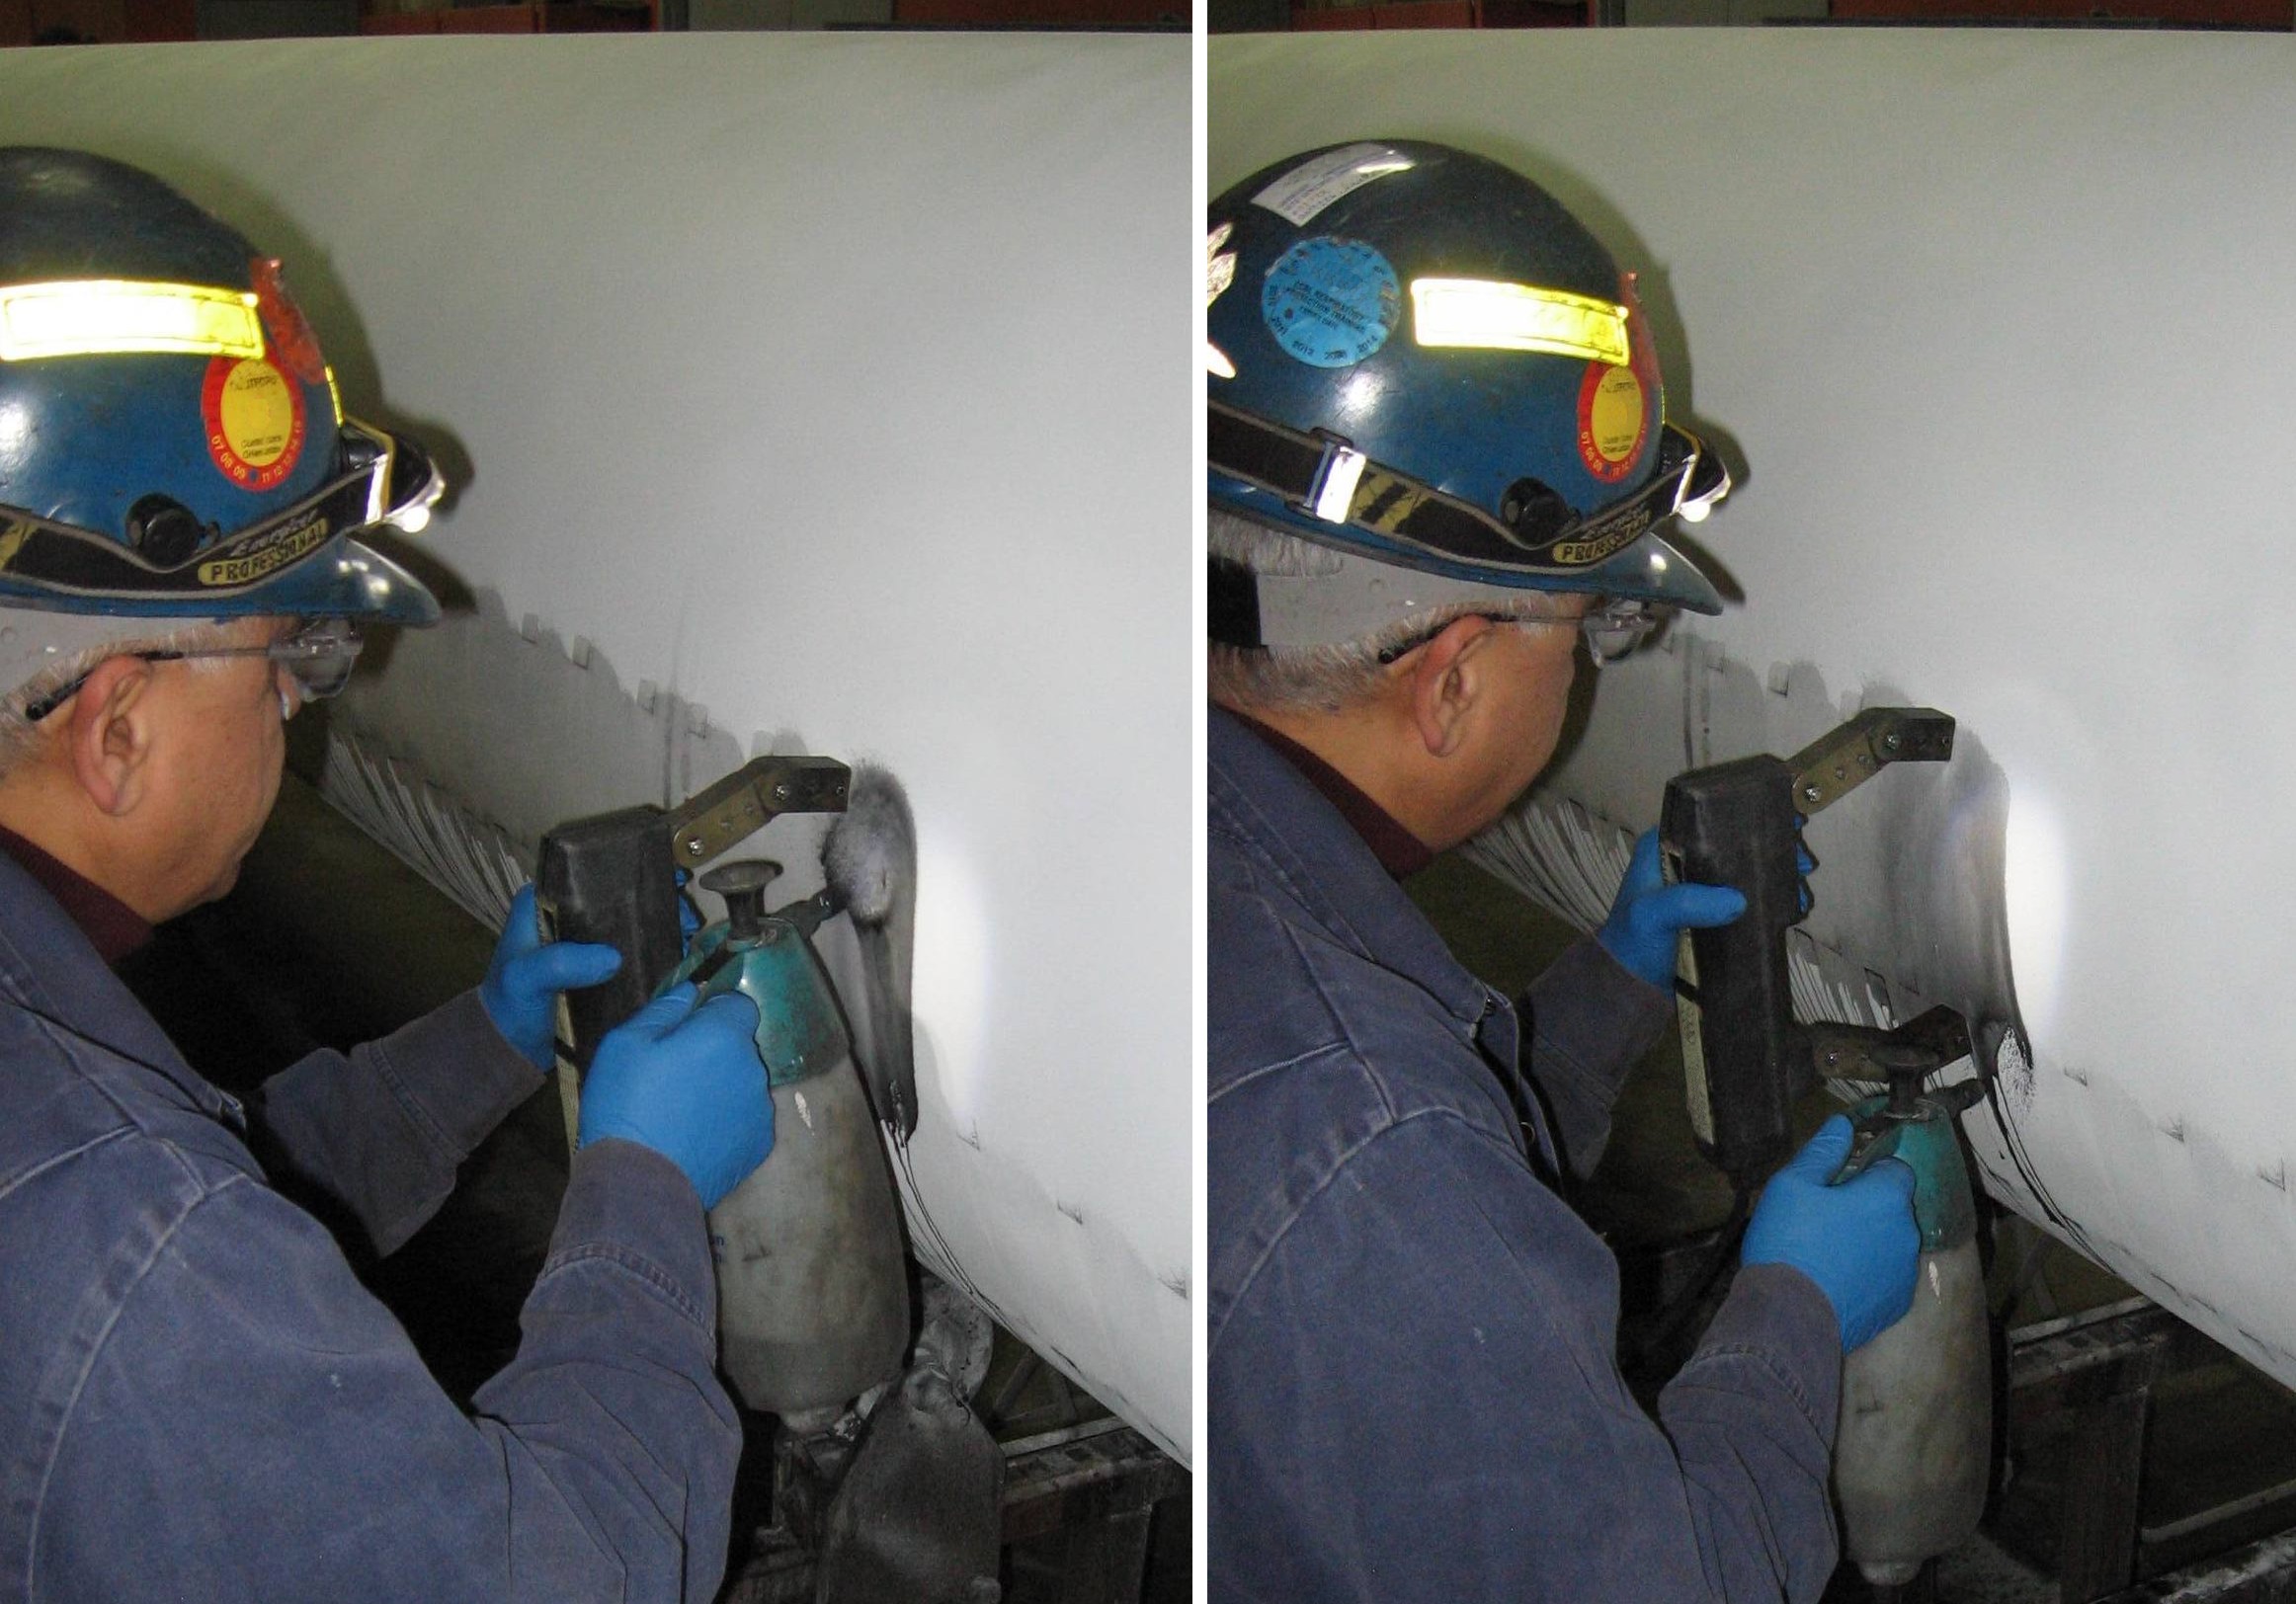
Magnetic
particle inspection includes exposure to oils, pastes, and
electrical current. This method is used for detecting
discontinuities in ferromagnetic parts. The part is magnetized by
using an electrical current that induces a magnetic field in the
part. A discontinuity, which crosses the magnetic field, creates
north and south poles on either side of the defect area. When
magnetic particles are applied to the part, the poles attract the
particles and an indication of the discontinuity is formed.
Magnetic field characteristics are described, as well as the
various techniques and equipment used to magnetize and demagnetize
components under inspection. The terms MPI, MPT and MT are used
interchangeable. Magnetic particle inspection can detect
discontinuities only in parts made of ferromagnetic materials. The
magnetic particle inspection method will detect surface
discontinuities, including those that are too fine to be seen with
the naked eye and those that lie slightly below the
surface.
Liquid Penetrant Inspection:
Liquid Penetrant
Inspection is used to detect discontinuities, i.e., cracks,
pits, etc., open to the surface on parts made of nonporous
materials. This method depends on the ability of the penetrant to
enter into a surface discontinuity in the material to which it is
applied. Due to its ability to inspect ferrous and nonferrous parts
of all sizes and shapes, and its portability, the liquid penetrant
NDI method can be used at almost any location, other than
highly flammable areas.
Ultrasonic Inspection:
This
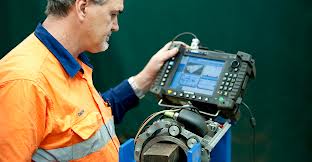
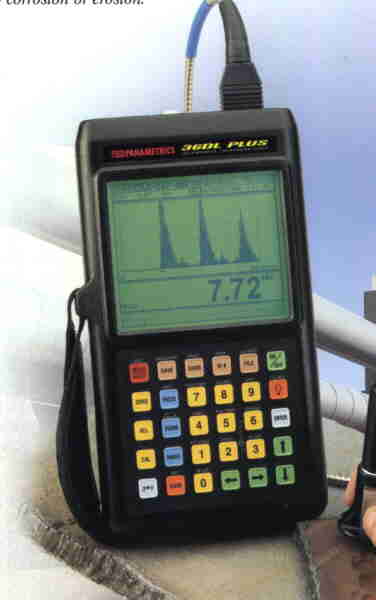
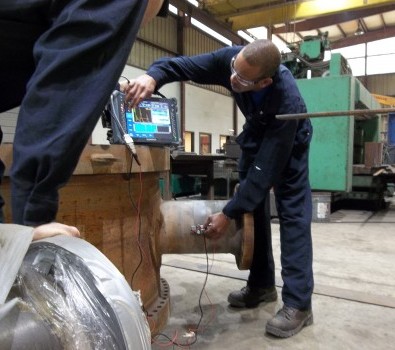
method uses ultrasound to detect internal discontinuities.
Ultrasound can be used on most all materials and locate very small
defects. It can be used to measure the overall thickness of a
material and the specific depth of a defect. However, knowledge of
the internal geometry of a part is very critical to interpretation
of any defect signal. The transmission of ultrasound is
characterized by periodic vibrations of a particle or small volume
element of matter.
Leak Test (Vaccum Box Testing):
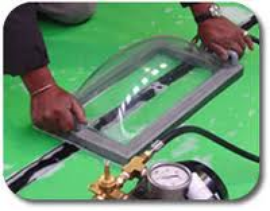
The objective of the vacuum box technique of bubble leak testing is to locate leaks in a pressure boundary that cannot be directly pressurized. This is accomplished by applying a solution to a local area of the pressure boundary surface and creating a differential pressure across that local area of the
boundary causing the formation of bubbles as leakage gas passes through the solution. The purpose of this procedure is provide a guide line to carry out the Vacuum box test to check soundness of annular joints, bottom( long seam & short seam) and welding joints for annular plates.
TRAINING:
All NDT Technicians for A.L. Loran International LLC.; go through extensive training in NDT Procedures through Base Line Data Training center in Portland, Texas, as well as Birring NDE Center in Houston, TX. under the Supervision of Level III Technicians. All technicians going through our training will meet ASNT Standards.